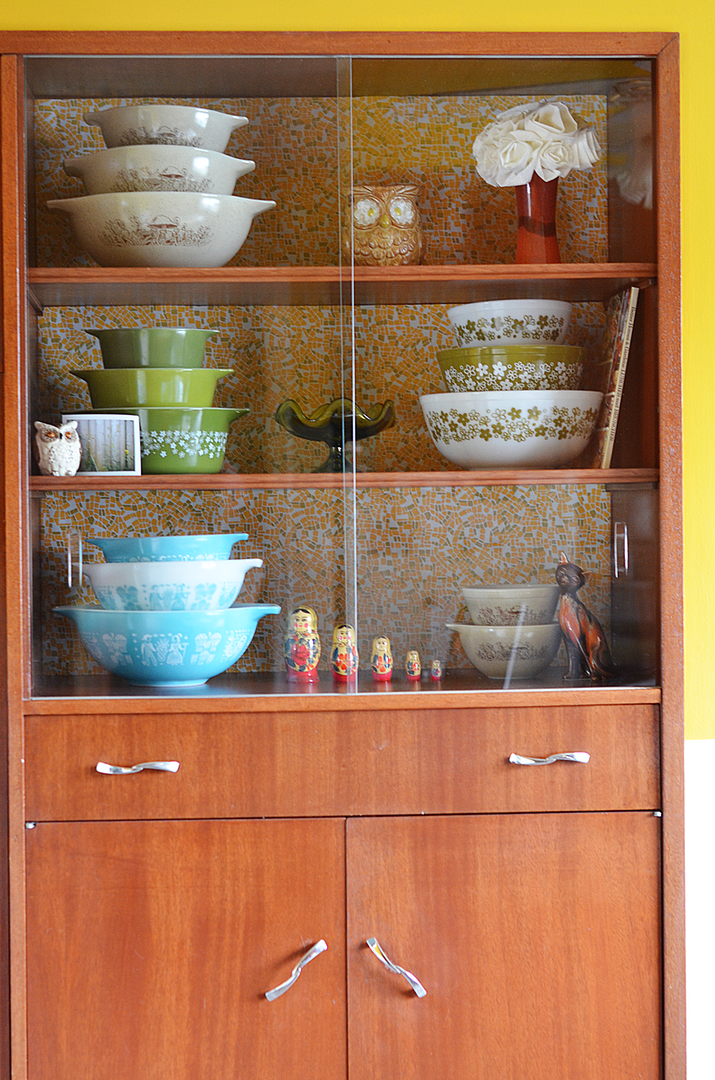
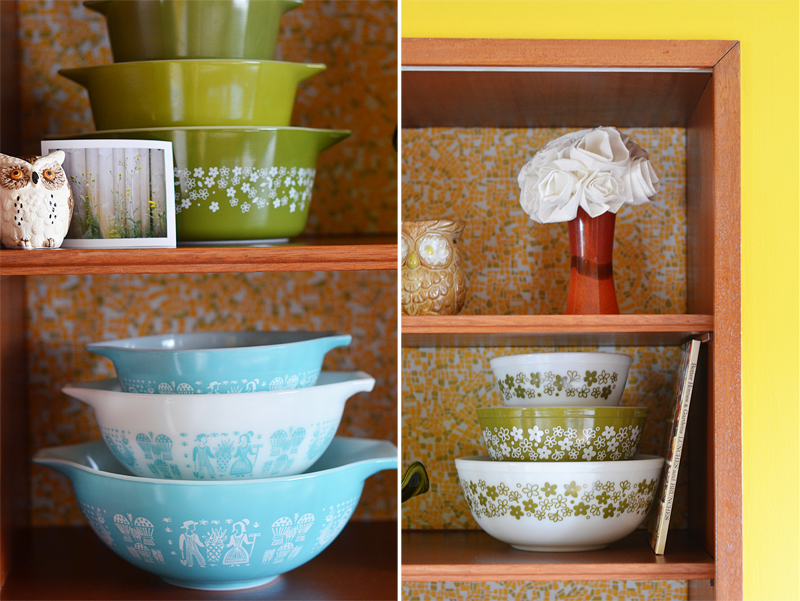
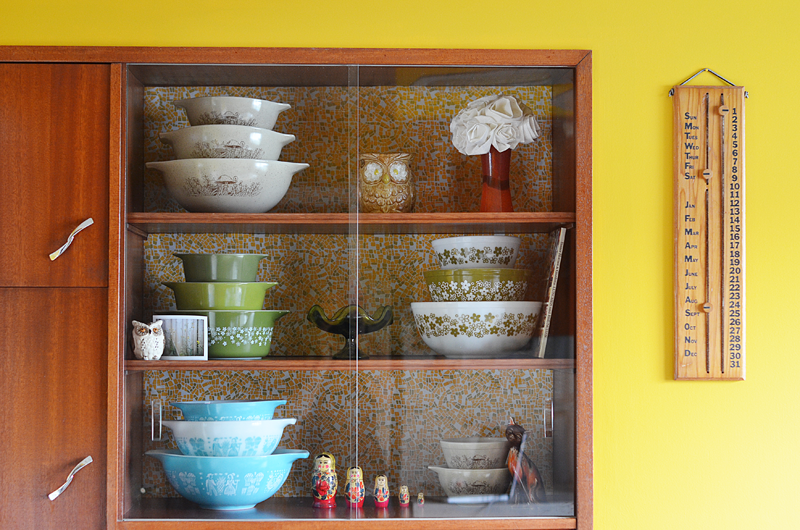
Hey remember when I added some paper to the hutch in our living room? Well, I just continued the project over to the kitchen by adding the same paper to the built in unit in our kitchen.
The paper looks a lot more subtle in the built in that it does in the hutch because it is a bit deeper and doesn't get as much light. It does brighten it up a bit though and I'm pretty into it. Also, just noticed that the calender was not even close to the right date when I took these photos. Oops!
I hope everyone is having a terrific Thursday!
EDIT: I have received a bunch of questions about this papering so I will let you know some more info about what I did.
The paper is actually just regular old paper on a roll that I picked up at a garage sale event in Ohio. This restyle is actually really great for people who are renting and can't do anything permanent because the paper is attached to the back of the built-in with painters tape. It holds well but is extremely easy to remove when/if you want/need to.
This project was super simple, I just measured the height and width of the back of the cabinet and then measured and cut the appropriate amount of paper to cover it. Like I said, I then used painters tape to attach the paper to the back panel of the unit, starting in one corner and smoothing it over to the other side. Easy!
♥elycia

love the colors. so pretty. (:
ReplyDeleteThis post reminds me that I have a buffet that I found on the side of the road that still needs to be painted, spiffed up, and filled with all my pyrex! Better get on that before it's too cold to paint outside...
ReplyDeleteAlso - love the lighting! Great shots!
That looks amazing!!
ReplyDeleteThat little built-in unit is adorable, and I love the new paper in it!
ReplyDeleteAnd on a completely unrelated note...I always read your blog at work, and therefore can't watch the vlog's because well that would give myself away that I'm not exactly working...but yesterday, I watched a couple of them, and I'm so glad I did! It actually made me like you and your blog even more now getting to see you "live" rather than just reading some words! (Can't say that about another blogger's vlog I watched yesterday...) Anyways, just letting you know that I really enjoy your blog, and getting a glimpse into your cute little world and life!
--Halie
silly question - but what did you put inside the bowls in order to display your pyrex like that? i love it. mine is all hidden away in the cabinet. such a waste of adorable-ness but i don't have any room to display them. someday i'd love to be able to.
ReplyDeletethanks!
She made a tutorial for it, here! http://www.loveelycia.com/2011/11/how-to-pyrex-stacking.html
DeleteNice pictures, so colorful. Your calendar is awesome!!!
ReplyDeleteIt looks really great! Nice job!
ReplyDeleteOh I have some serious kitchen envy right now!!!
ReplyDeletexomando
I love the wallpapered look! I hope I can do it with something once we're not renting anymore.
ReplyDeleteBeautiful!! PS I LOVE your pyrex collection!! :)
ReplyDeleteWeird question -- what are you using to space out your Pyrex when they're stacked like that? :)
ReplyDeleteShe made a tutorial for it, here! http://www.loveelycia.com/2011/11/how-to-pyrex-stacking.html
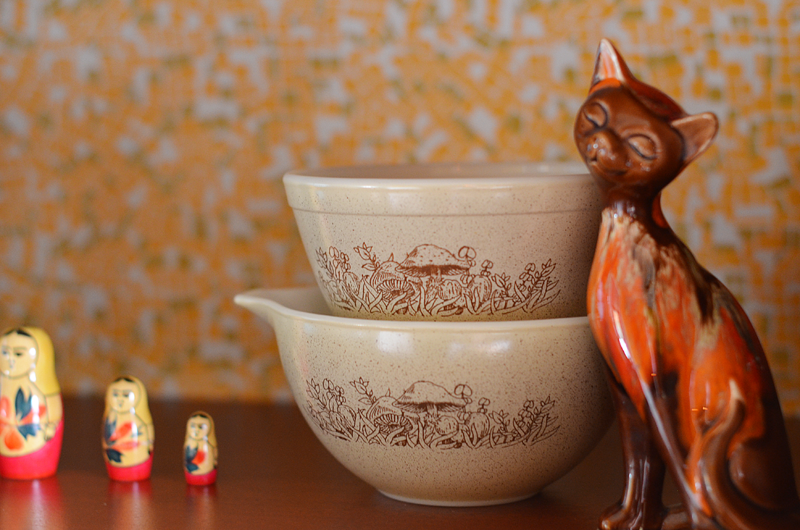
DeleteGirl, I have that same owl on your top shelf sitting outside on my deck right now and Russian nesting dolls that look exactly the same in my living room! And I looove the look of the wallpaper in this unit!
ReplyDeleteI love your Pyrex *drools*. I'm trying to expand my collection and figure out a way to display it.
ReplyDeleteahhhh you have such great collections!
ReplyDeleteThat is a really cute built-in unit. I love the paper in the back, and I love the arrangement of all the dishes. So cute!
ReplyDeleteWow! I love it :-D
ReplyDeleteIs the paper something you thrifted or is there a place I can order it online from? I absolutely adore it!!
ReplyDeleteits so seventies! i love it!
ReplyDeleteElycia, it looks so great! You'd think that a pattern so busy would be difficult with items in front of it, but the cool tones of your pyrex collection really pop against it!
ReplyDeleteI recently did a small scale makeover also involving colourful paper on my blog, you can check it out here
It's amazing what a little nice paper can do!
--Erin
predictionspast.blogspot.ca
where did the chevron pattern go?! i just got my yarn all ready and came back and it was gone! please don't tell me you had to take it down?
ReplyDeleteps that built-in is amazing. love it.
I really love this. so kitschy!
ReplyDelete<3 Melissa
wildflwrchild.blogspot.com
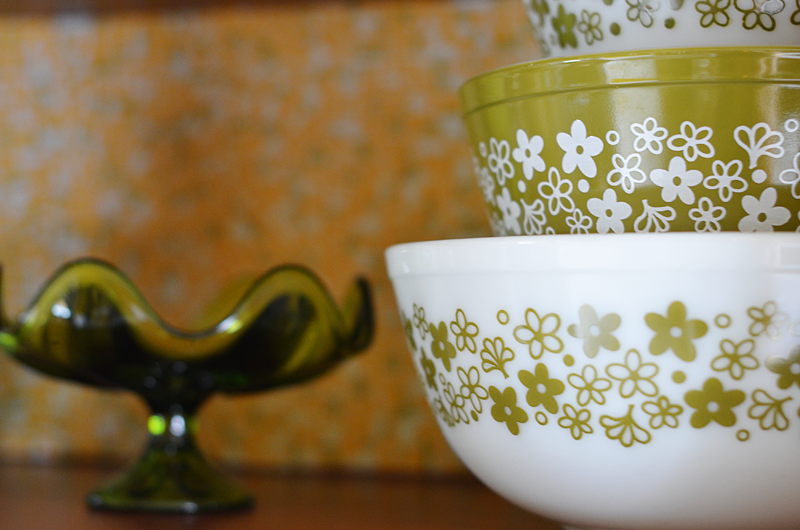
Omg I grew up using the same bowls in your second photo. I just got so nostalgic...
ReplyDeletehttp://www.pirateandlilac.com
So cute! The paper really adds something, more than even painting it a bright color. Your vintage Pyrex looks especially fab against the print.
ReplyDeleteWe have a lot of the same Pyrex! I collect the crazy daisy pattern.
ReplyDelete